





How to Create and Sell Digital Stickers: A Beginner’s Step-by-Step Guide

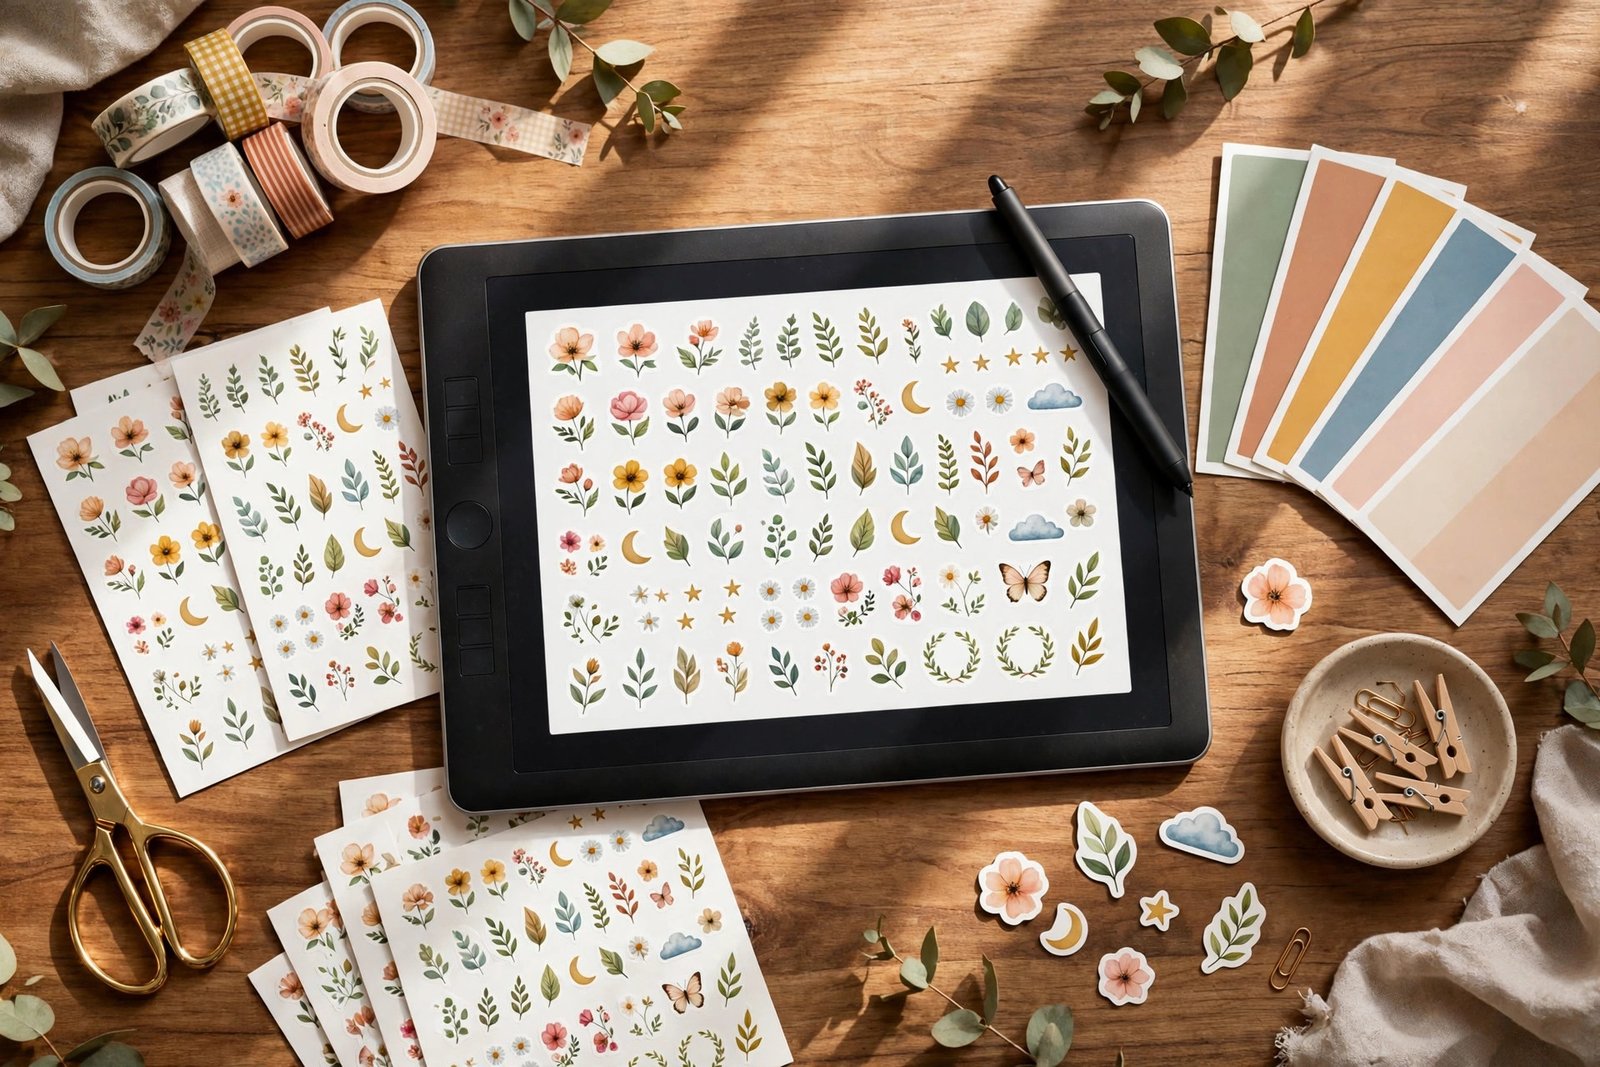
Digital stickers are one of the cheapest products you can make and one of the easiest to sell. One evening of design can sell hundreds of times with zero printing or shipping. But most beginners do it backwards: they design twenty random cute stickers, dump them on a listing page, and wonder why nobody buys. Here is the order that actually works — niche first, design second, borders and files third, and only then the listing.
Step 1: Pick a Tight Sticker Niche, Not a “Cute” Theme
What to do: Choose one specific audience and one specific use case for your sticker pack.
Exactly how: Write down five candidate niches — for example, digital planner users, journaling hobbyists, students, small business owners, or teachers. For each one, search “stickers” on Etsy and pick the niche where at least three bestsellers have 500+ reviews — that proves real buyers exist. Then narrow one more level: not “planner stickers” but “minimal beige weekly planner stickers”.
Example: A pack called “Minimal Beige Weekly Planner Stickers” outsells a generic “Cute Kawaii Stickers” for the same effort, because the buyer instantly pictures it on her weekly spread.
Pro tip: Study the top 10 bestsellers in your niche and adopt their shared colour palette — five swatches is enough. Matching the visual language buyers already pay for removes most of the guesswork.
Step 2: Design Your Cohesive Digital Sticker Pack in Canva
What to do: Build a pack where every sticker shares the same style, palette, and line weight.
Exactly how: Open Canva and create a document with a custom size of 3000 × 3000 pixels. Design each sticker as a separate page, and build your pack around a repeatable recipe: 6 functional stickers (labels, checklists, flags), 6 decorative stickers (icons, doodles, frames), and 4–6 quote or header stickers. Keep the same stroke thickness and corner rounding on every piece — reusing one line style across all icons does this in minutes.
Example: A student pack — 6 assignment flags, 6 subject icons, 4 deadline banners, 2 quotes — reads as one product. A mix of clip-art styles reads as a folder of leftovers.
Pro tip: Draw your own icons with Canva’s “Draw” tool at the largest brush size, then smooth them once. Hand-drawn-but-clean commands higher prices than obvious stock clip-art.
Step 3: Give Every Sticker a Proper Die-Cut White Border
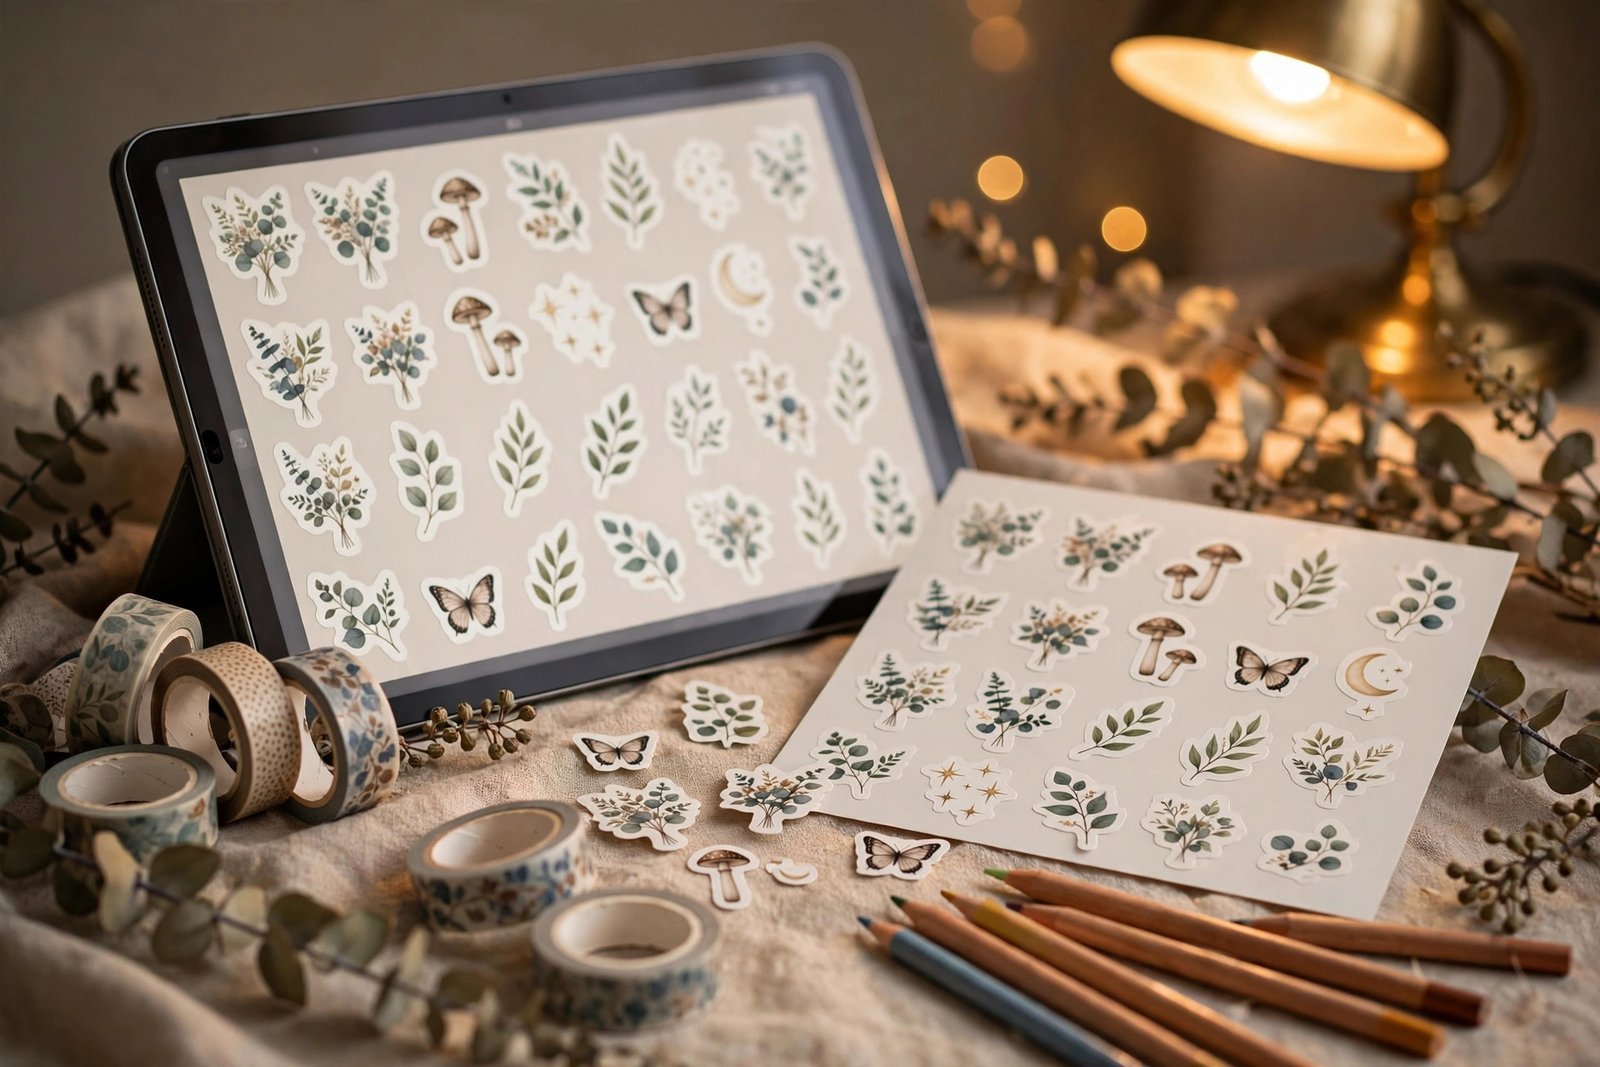
What to do: Add a thick, even white border around each sticker so it looks like a real die-cut sticker and survives printing.
Exactly how: Select a sticker element in Canva, click “Effects”, choose “Outline”, and set the outline to white at a size of 25–30 for a 3000-pixel canvas. Apply it to every sticker, then remove the canvas background so each sticker is its own cut-ready transparent PNG.
Example: The same flower doodle looks like clip-art without a border and like a real die-cut sticker with a 30 px white outline. That border is what the buyer is paying for.
Pro tip: Match the border feel to your niche: rounded for lifestyle niches (planners, journaling), sharp or grunge for gaming and motivational ones.
Step 4: Export Both Print-Ready and Digital Versions
What to do: Deliver two file sets in one download: high-resolution PNGs for digital planning apps, and a printable PDF for buyers who print their own.
Exactly how: In Canva, download the pack as PNG with transparent background at the original 3000-pixel size — this is your digital-use file set, ready for GoodNotes and Notability. Then create a second page sized to A4 (2480 × 3508 pixels), arrange all stickers on it, and download that as a PDF for print.
Example: “18 transparent PNGs + 1 printable A4 PDF” in the download folder answers both buyer types at once — and cuts “can I print these?” messages and refund requests.
Pro tip: Name every file with the pack name and sticker number (e.g. minimal-beige-weekly-planner-01.png). Organised filenames cut your support messages dramatically.
Step 5: Price It to Sell and Write the Listing
What to do: Price by pack size and niche demand, then write a description that names the exact use case and every file the buyer gets.
Exactly how: Price a 15–20 sticker pack between $3 and $7. Check the three bestselling packs in your niche and stay in their band. In the description, put the audience in the first sentence (“A 18-piece sticker pack for students who plan digitally”), list the exact file contents in a bullet list, and add five keyword-rich tags (e.g. “digital stickers”, “planner stickers”, “GoodNotes stickers”).
Example: “18 Student Digital Planner Stickers — PNG + printable PDF for GoodNotes” names the audience, the files, and the use case in one line. “Cute stickers pack, instant download” names nothing — and converts nothing.
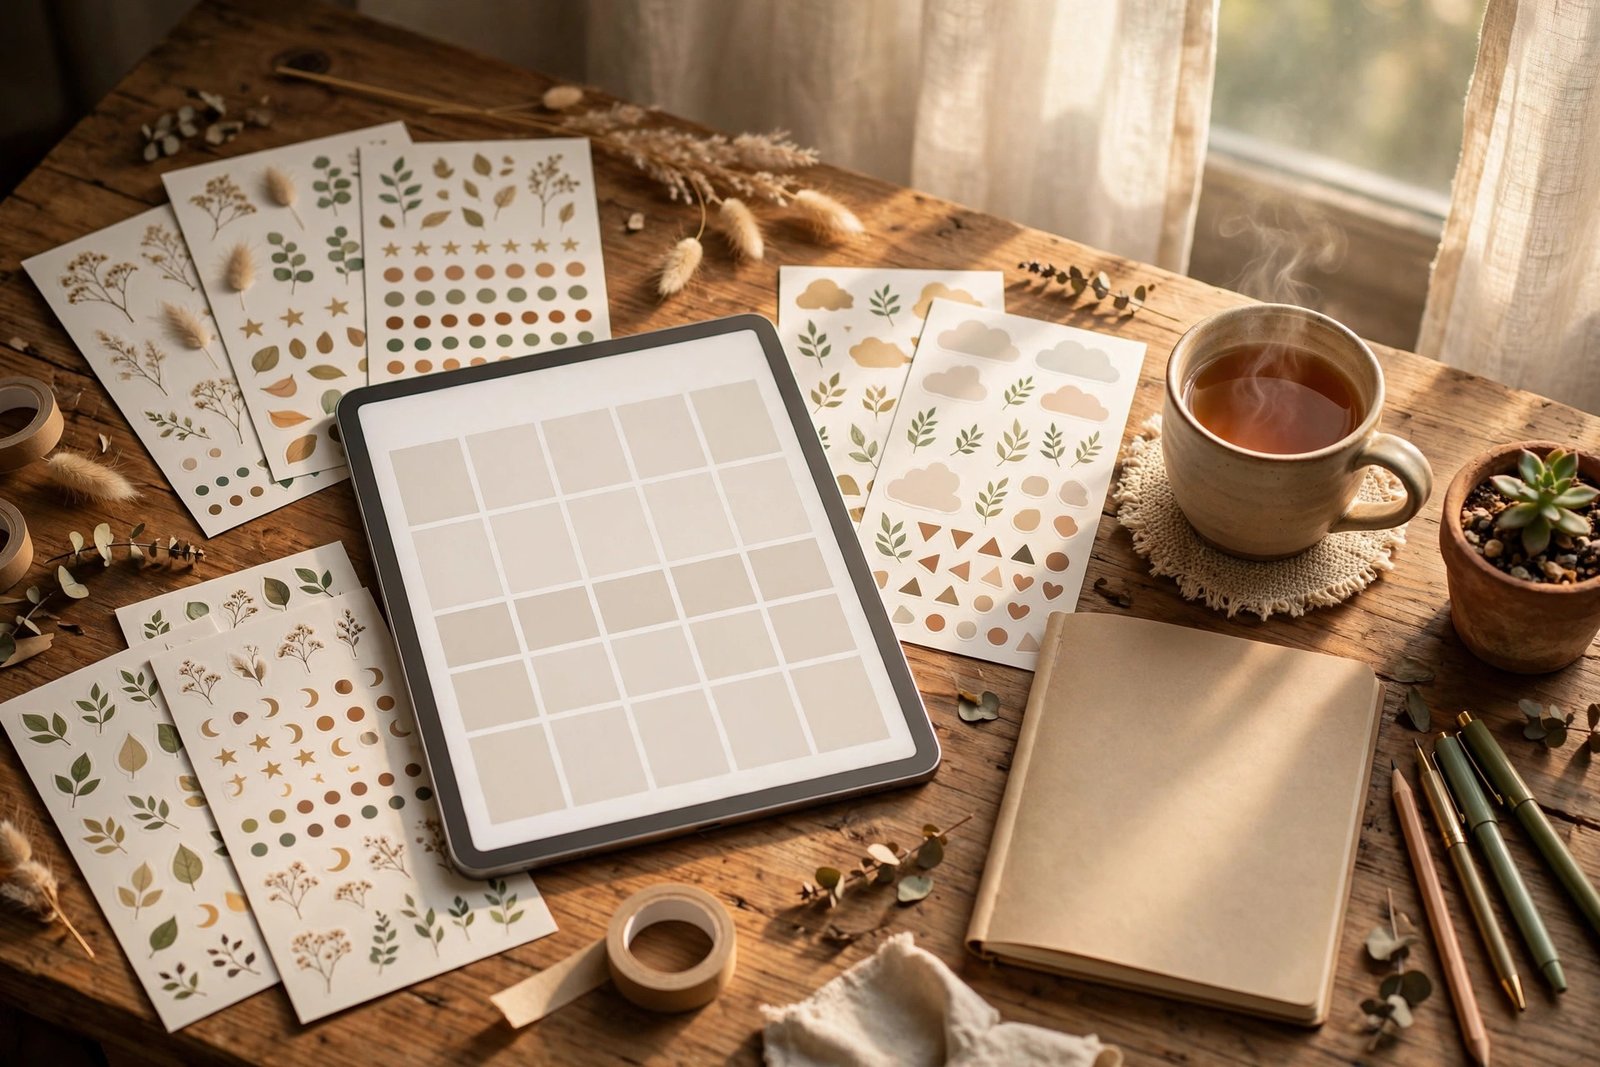
Pro tip: Make your first listing image a lifestyle mockup — listings that open with stickers “in use” get far more clicks than flat-sheet openers.
Step 6: Promote With Mockups Where Buyers Already Shop
What to do: Show your stickers in realistic scenes on Pinterest and Instagram, because buyers purchase what they can picture themselves using.
Exactly how: Take three tablet or planner mockups and place your sticker sheet on them — Canva’s mockup frames or a tool like Placeit make this a ten-minute job. Post one mockup per day on Pinterest with the title “Digital Stickers for [Your Niche]” and link every pin straight to the listing. On Instagram, post them as a carousel with the first slide showing the full sheet and the rest showing close-ups on a planner page.
Example: One Pinterest pin of your sheet on a weekly spread, titled “Minimal Weekly Planner Digital Stickers”, can drive listing traffic for months. Stickers are evergreen content, not trend content.
Pro tip: Re-pin your top three performing mockups every 60 days with slightly changed titles. One good mockup can work for you for a year.
Common Mistakes to Avoid
- Mixing art styles in one pack: A pack that jumps between watercolour, flat vector, and photo-realistic icons looks amateur. One style per pack, always.
- Skipping the transparent PNG export: Stickers on a white square background are unusable in planning apps. Every sticker must be a transparent-background PNG.
- Pricing by effort instead of value: Nobody pays for the hours you spent. Price by what buyers in your niche already pay for packs your size.
- Listing without a use-case sentence: “Cute stickers” tells the buyer nothing. Name the app, the niche, and the use case in the first line.
Quick Checklist
- ☐ Niche narrowed to one audience + one use case
- ☐ 15–20 stickers designed in one shared style and palette
- ☐ White die-cut border on every sticker (25–30 px on a 3000 px canvas)
- ☐ Transparent PNG set + printable A4 PDF exported
- ☐ Files named clearly with the pack name and numbering
- ☐ Priced in the $3–$7 band against three niche bestsellers
- ☐ Listing leads with the use-case sentence and lists every file
- ☐ Three mockups posted to Pinterest with direct listing links
A sticker pack is the perfect first digital product: small enough to finish in an evening, cheap to make, and easy to multiply into a whole shop of niches. Design the pack, export it right, and let the mockups do the selling — and when you’re ready for your next pack, give yourself a head start with the design templates at Haseen Tools.
3 thoughts on “How to Create and Sell Digital Stickers: A Beginner’s Step-by-Step Guide”